


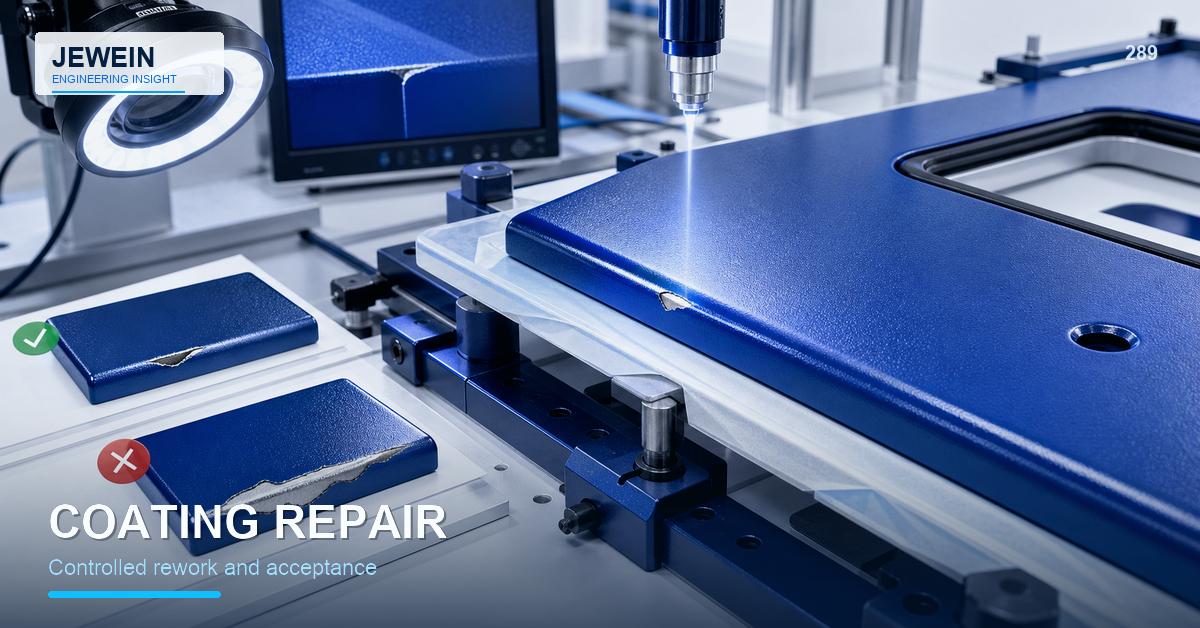
A driver slips during latch installation and chips a hidden flange. Later, a shipped door arrives with a long scrape across its primary cosmetic face. Both defects expose coating damage, but treating them with the same bottle of touch-up paint would ignore appearance, corrosion, and functional risk.
Use sheet metal coating repair only after deciding what the damaged zone must still do. Location, exposed substrate, service environment, finish system, sealing or electrical function, and the customer's appearance rules determine whether local rework is sensible.
Classify the Damage Before Touching It
Record the defect while the evidence is intact. Note whether it is a scratch, chip, blister, peel, thin area, burn, stain, rust spot, bare edge, ground weld, or drilled feature.
Photograph the overall part and a scaled close-up. Mark the drawing zone and probable cause. Immediate sanding can erase evidence needed to prevent recurrence.
Use a Repair Decision Gate
Begin with the substrate. If it is cracked, thinned, deeply corroded, or badly deformed, a coating repair is already the wrong conversation. Next identify the zone. A gasket land, bonding point, sliding face, and cosmetic front have different acceptance needs.
Then ask whether preparation can be contained, whether a compatible material and cure route are approved, and whether the finished repair can actually be inspected. If the governing specification or customer rule is unclear, stop for an engineering disposition before sanding away the evidence.
Match Preparation to the Coating System
Remove loose film, corrosion, oil, residue, and damaged material using a controlled method. Feather edges only as permitted. Avoid grinding into thin sheet or spreading contamination across a larger cosmetic face.
For sheet metal coating repair, specify the preparation tool, cleaned area, surface condition, and maximum repair size. Do not leave these choices to personal preference on the production floor.
Confirm Material Compatibility
A liquid repair can match the color chip and still behave differently from the original powder. It may stay softer, age at another rate, or bond poorly where it overlaps the intact film. Trial the material on the real substrate and finish stack, including nearby sealant or adhesive, before approving it for production use.
The powder coating adhesion guide helps determine whether local damage is isolated or evidence of a broader process failure.
Protect Functional Zones
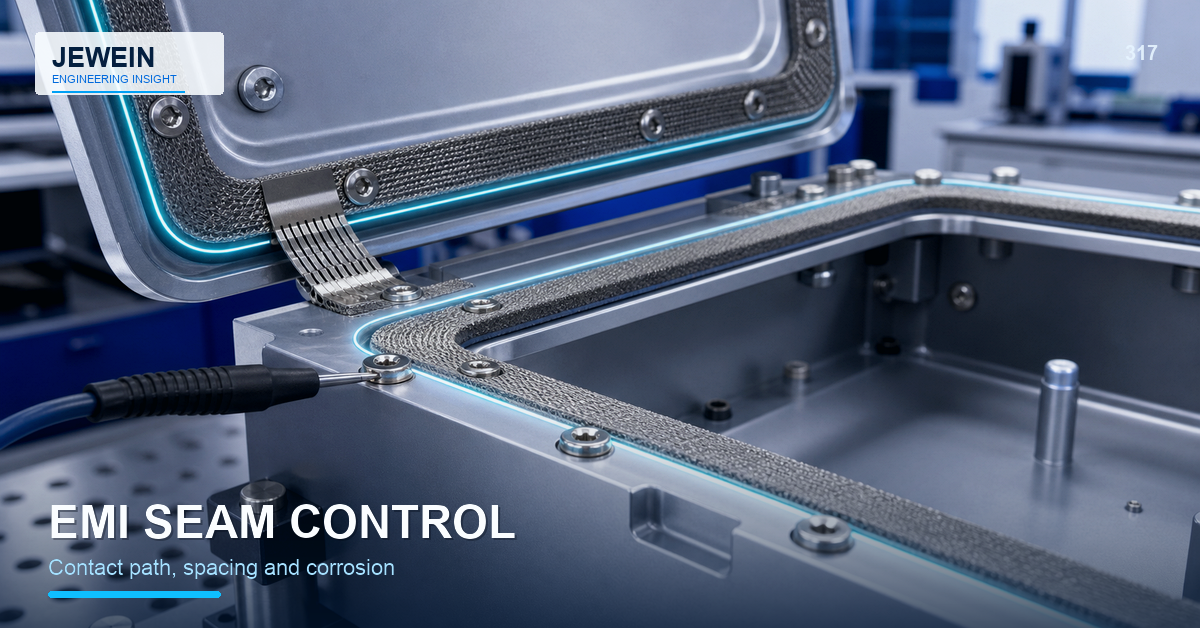
Repairs near threads, hinge pivots, latch faces, gasket lands, electrical contacts, labels, and sliding surfaces can interfere with function. Added film may change clearance or contact resistance.
Mask and inspect these areas deliberately. The powder coating thickness guide explains how small film changes can accumulate across an assembly stack.
Control Color, Texture, and Transition
Even a color-matched liquid repair can differ in gloss, texture, metallic orientation, or aging. Establish which surfaces permit visible touch-up and what viewing conditions govern acceptance.
Use an approved sample for high-visibility products. A photograph under uncontrolled lighting is not a reliable appearance master.
Define Cure Without Damaging the Part
An air-dry repair may look ready long before it can tolerate packing or clamp pressure. A two-component system introduces mixing and working-time limits. A heated cure may be faster, but the completed assembly can contain gaskets, adhesive, lubrication, electronics, or inserts that cannot take the cycle. Define the usable method for the whole part, not only for the paint.
Reinspect the Cause and the Repair
Inspect the repair after its full cure, not when it first looks dry. Check the prepared boundary, coverage, transition, color and texture, dimensions, gasket or hardware interface, and any required adhesion or corrosion evidence.
Then return to the workstation that caused the defect. If a driver repeatedly hits the same edge, a better applicator merely makes the symptom cheaper to hide. Change access, tooling, protection, or sequence and confirm the next parts remain undamaged.
Record Repair Limits and Frequency
A single approved repair does not justify unlimited rework. Set maximum size, number, location, and cumulative area. Repeated defects may signal poor handling, weak coating, inadequate packaging, or an assembly design that forces contact.
The sheet metal packaging guide provides controls for separators, finished faces, edges, and transport movement.
Use Damage Location to Correct the Process
Plot repair locations over several lots. Five small chips at the same corner are one process problem, even if five separate inspectors wrote five separate reports. Note when damage is first observed so the investigation does not blame packaging for a mark created during assembly.
Use the pattern to change tool access, protective film, separators, assembly order, rack design, or handling. A falling repair count is stronger evidence of corrective action than a faster touch-up station.
Release a Repair Traveler
Record part and revision, finish batch, defect type and location, cause, preparation, repair product and batch, mixing, application, cure, inspection, photographs, approver, and disposition. Link repeated damage to corrective action.
Jewein describes manufacturing-risk and quality review in its company overview. Final repair approval depends on the coating system, environment, appearance class, and customer requirements.
For a focused sheet metal coating repair review, contact Jewein with the substrate, original finish, damage photos, defect location, service environment, appearance class, repair product, cure limits, and current acceptance rule.
Frequently Asked Questions
When is a local coating repair reasonable?
It can be reasonable for a small, approved defect when the substrate is sound and the repair will restore the required protection without disrupting fit or appearance.
Can ordinary paint repair a powder-coated panel?
Not automatically. A liquid touch-up may differ in texture, hardness, cure, aging, and corrosion performance even when its color is close.
Why are damaged edges important?
Edges often begin with less coverage and see more handling. Once bare, they can also collect moisture at seams, hardware, or gasket transitions.
Should repaired areas be adhesion tested?
Use the method required by the repair specification. The test must suit the small repaired area and should not create more damage than the disposition allows.
When should the part be rejected instead?
Reject it or obtain engineering disposition when corrosion is inaccessible, adhesion failure is widespread, the substrate is damaged, or the required function cannot be restored and checked.