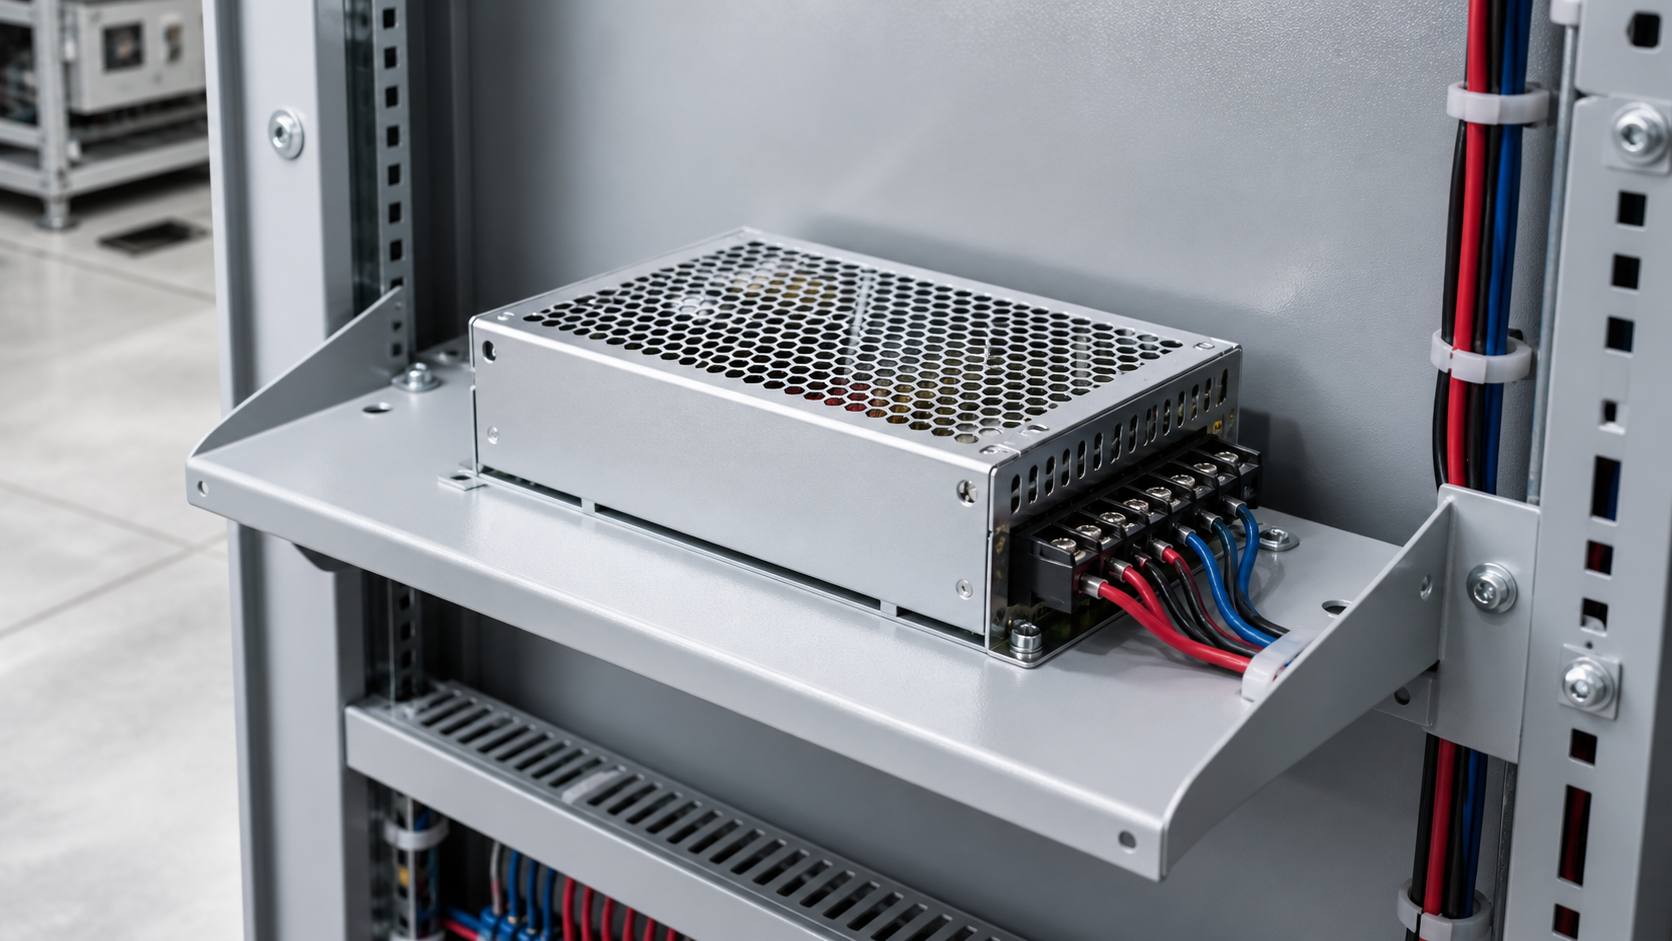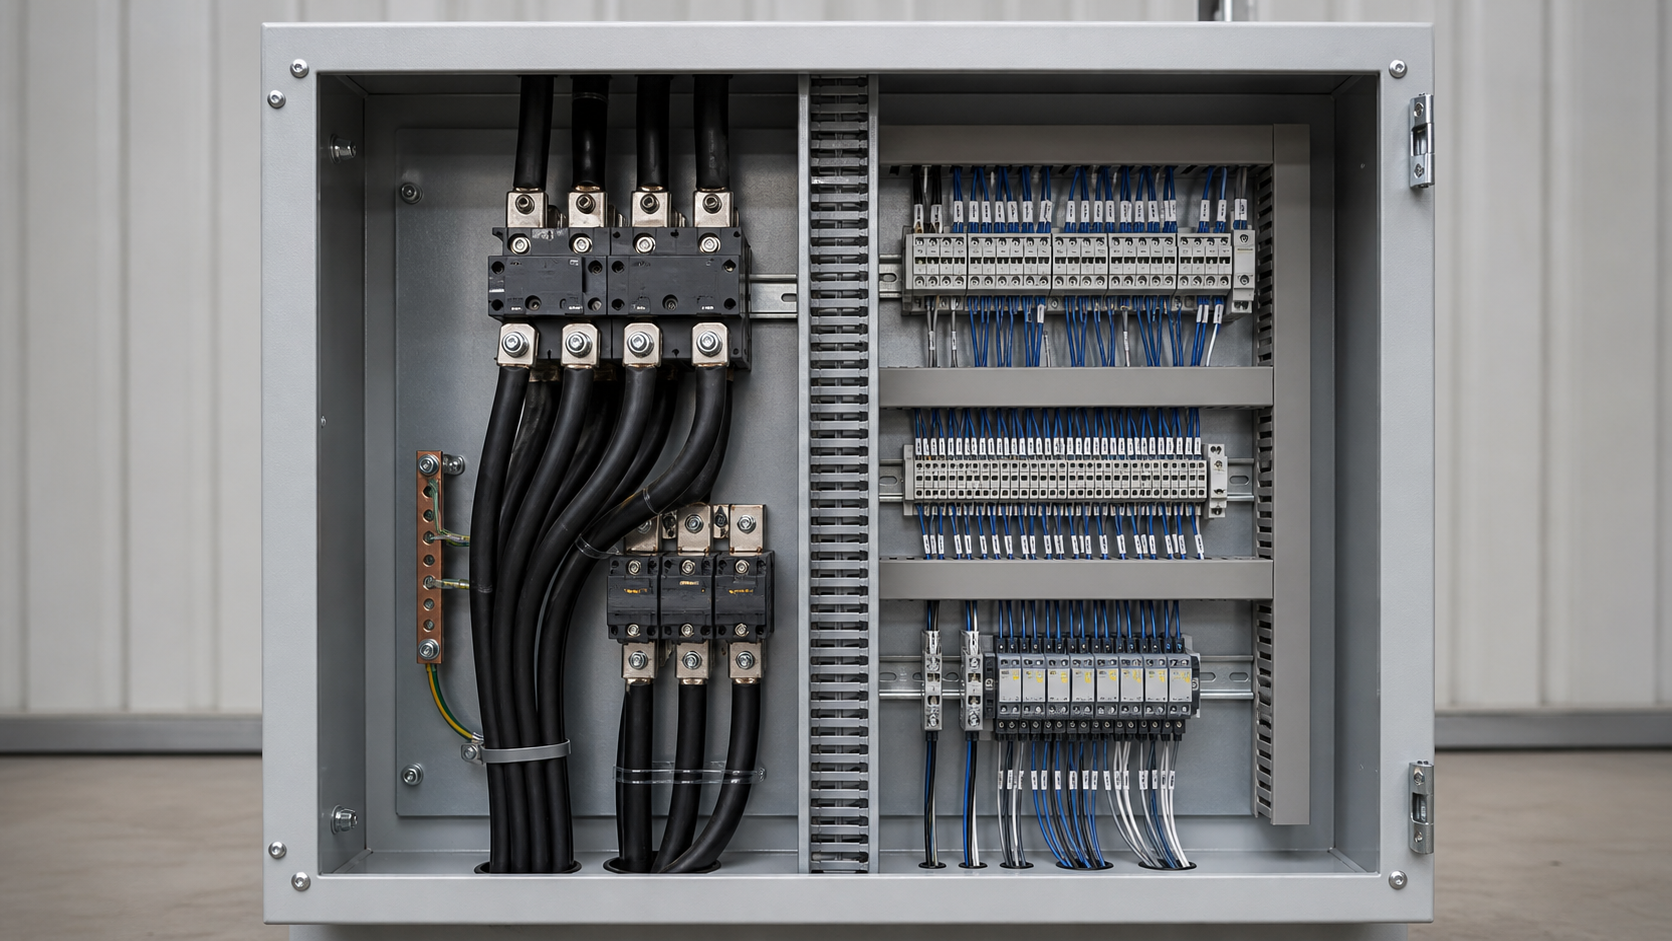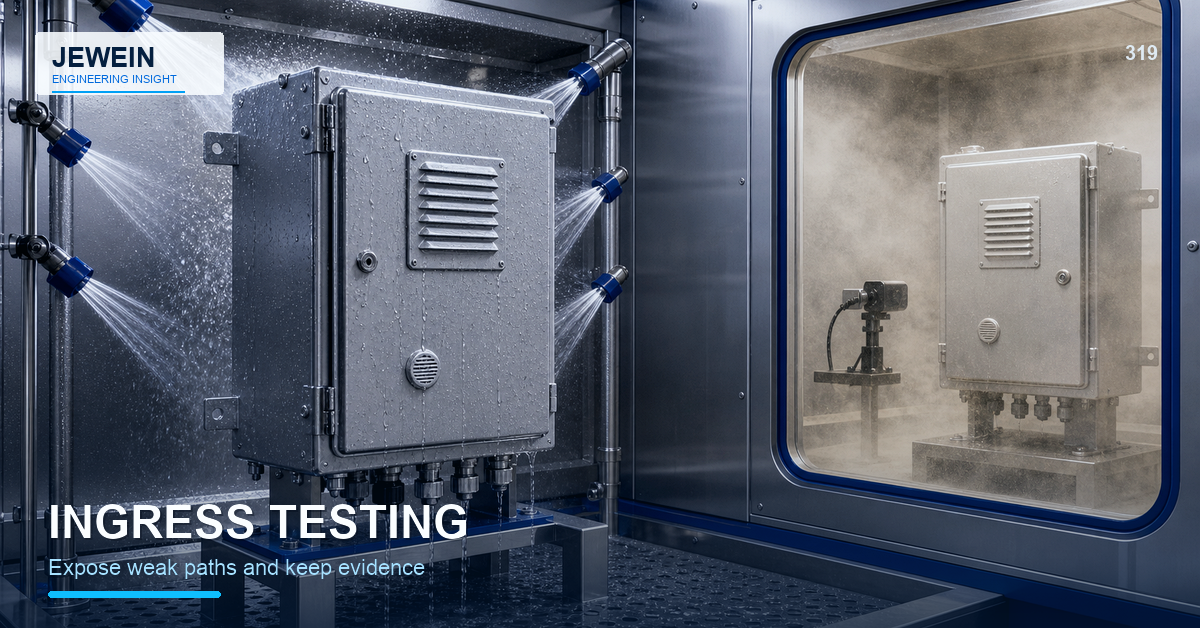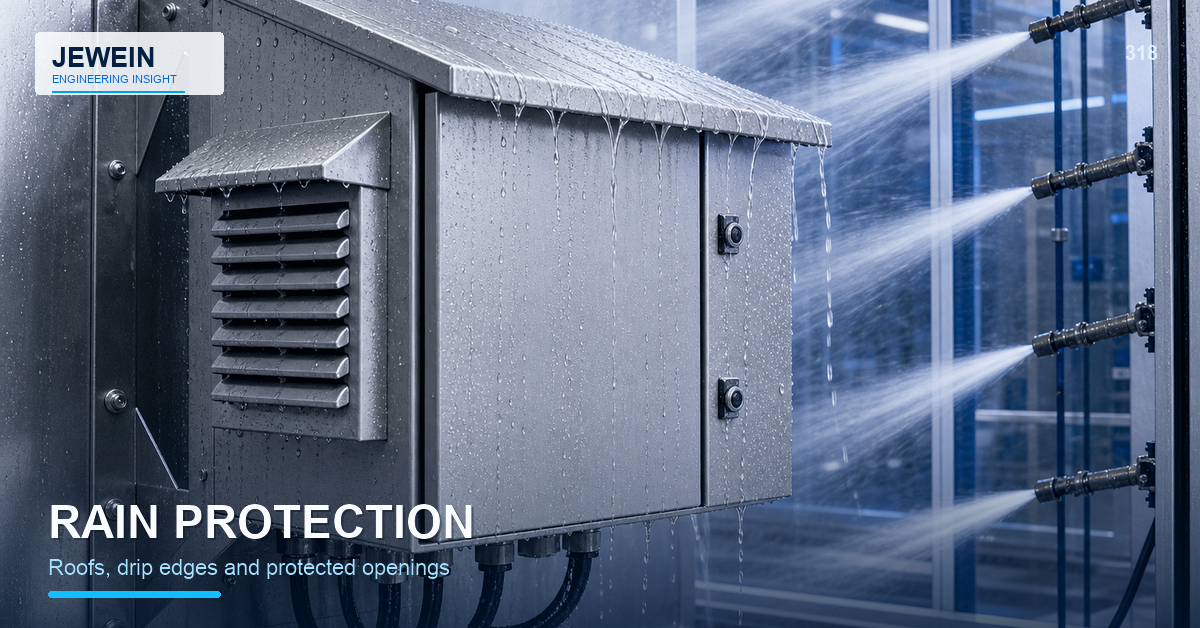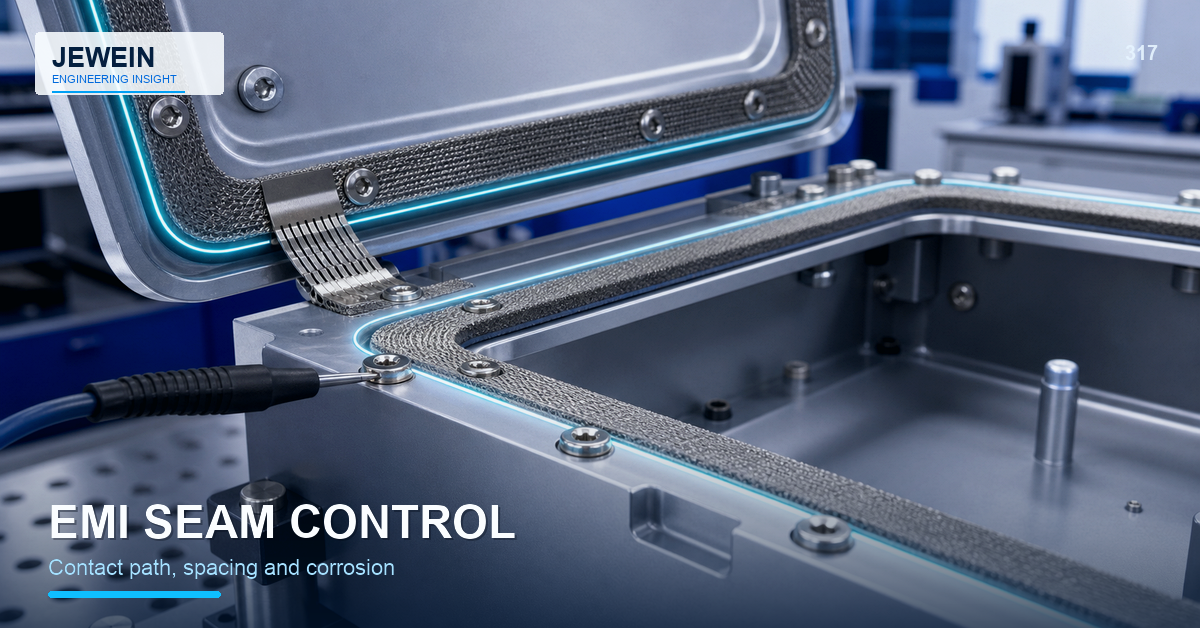



A continuous-looking bead can still contain a leak path. Pinholes, joint gaps, starts and stops, corners, intersections, porosity, grinding, coating damage, and fittings can connect the inside of an enclosure to the outside even when the main seam appears complete.
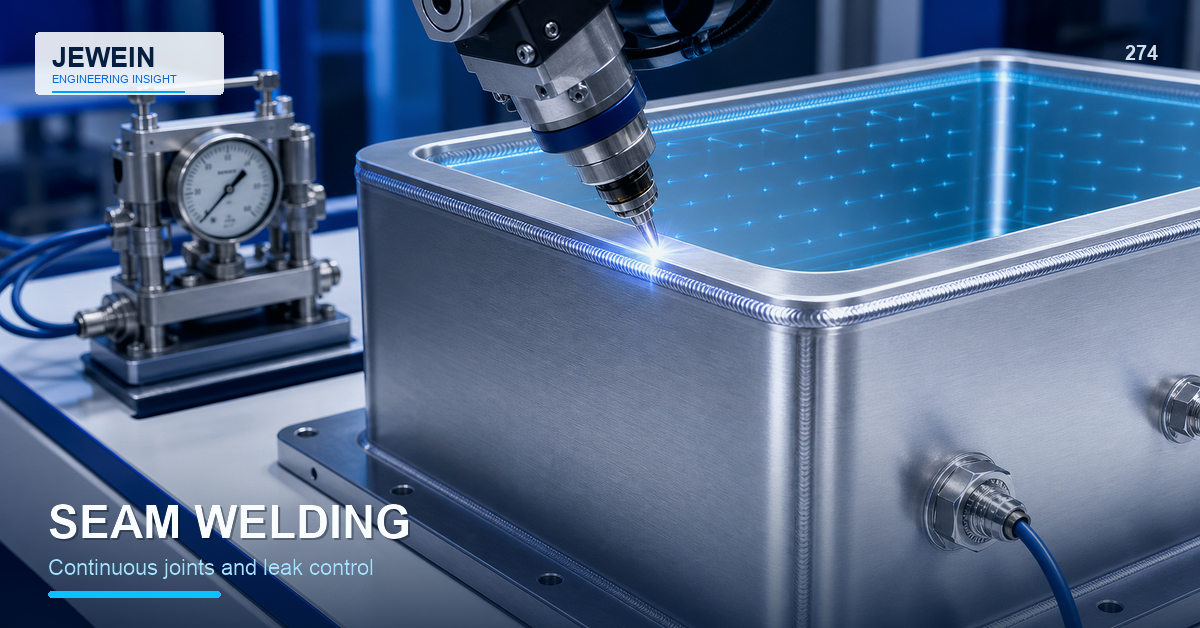
Plan seam welding sheet metal through a leak-path closure plan. Define what must be contained or excluded, design the joint and process around that requirement, and verify the finished assembly with a test that represents the actual risk.
Define the Boundary Before the Weld
Mark the complete controlled boundary on the assembly. Include seams, corners, penetrations, doors, hardware, drain points, brackets, studs, and any later machining or finishing operation.
Then state the requirement in practical terms:
- liquid splash or standing liquid;
- dust or process contamination;
- air movement or pressure retention;
- cleaning chemicals or washdown;
- outdoor moisture or condensation;
- separation between clean and dirty zones.
Different requirements need different joint details and test methods. Avoid using the vague phrase "watertight" without a defined condition.
Choose a Joint Architecture
| Joint type | Useful characteristic | Review concern |
|---|---|---|
| Lap seam | Fit-up support and accessible edge | Crevice, trapped contamination, coating access |
| Butt seam | Flush surface and direct path | Gap sensitivity, alignment, burn-through |
| Corner seam | Compact enclosure geometry | Heat concentration, start-stop intersection |
| Return-flange seam | Stiffness and controlled edge | Tool access, trapped path, finishing reach |
| Weld plus sealant | Separate structure and sealing roles | Compatibility, surface preparation, aging |
The sheet metal corner design guide can help connect seam geometry to bend relief, overlap, grinding, coating, and visible alignment.
Close the Intersections First on Paper
Many leaks occur where one seam meets another, where a corner is ground, or where a fitting interrupts the boundary. Draw enlarged sections at every transition.
Ask:
- where does the weld start and stop;
- how do two beads overlap;
- is there a hidden crevice behind the visible surface;
- can the torch and inspection method reach the root area;
- what happens after grinding or blending;
- does a later hole, stud, bracket, or coating step reopen the path?
For seam welding sheet metal, the transition details often matter more than a long straight section.
Control Fit-Up Along the Entire Path
Gap variation changes heat demand, penetration, filler use, distortion, and the chance of pinholes or underfill. One acceptable measurement at the end of a seam does not prove that the middle is stable.
Define edge preparation, allowable mismatch, locating references, clamp positions, and whether the fixture is allowed to force the parts together. Inspect the pre-weld fit at critical sections. If broad panels must be pulled into alignment, correct upstream cutting or forming variation before increasing weld heat.
The sheet metal datum scheme guide explains how repeatable locating features can connect the fixture to final assembly function.
Balance Heat Against Continuity
A continuous seam accumulates heat and shrinkage. A faster pass may reduce total heating but demand tighter fit-up. A slower pass may bridge variation while increasing distortion and surface change. Backing, chill bars, fixtures, sequence, process choice, and joint design all affect the result.
Plan the order around the complete enclosure. Closing one side may trap stress or block access to another. Measure the part after release and after any grinding, straightening, coating, or pressure test.
Do not assume that a heavy fixture solves the problem. Stored stress may appear when the assembly is unclamped, machined, heated, or placed in service.
Decide Whether Grinding Is Functional or Cosmetic
Grinding can smooth a visible seam, but it can also thin the weld, open porosity, remove protective coating, create heat, or hide the original profile. Define which surfaces are blended, the required contour, and the minimum remaining joint condition.
If leak control depends on the weld, test after the final grinding operation. If a repair is blended, inspect and retest the repaired zone under the same release rules.
Treat Sealant as a Designed Component
Sealant may provide a practical barrier when continuous metal welding is unnecessary or too distortion-sensitive. It still needs an approved material, bead path, surface preparation, joint movement allowance, cure, inspection, and service-life plan.
Confirm compatibility with pretreatment, paint, powder coating, cleaners, temperatures, and the contained medium. Define whether sealant is applied before or after finish and how damaged material is repaired.
Select the Leak Test From the Failure Risk
Testing options differ in sensitivity, coverage, setup, and interpretation. The qualified team may use visual hold tests, pressure decay, vacuum methods, tracer methods, liquid penetrant approaches for suitable joints, or other application-specific techniques.
The test plan should define:
- test stage and assembly condition;
- medium and safety controls;
- pressure or vacuum condition when applicable;
- stabilization and hold logic;
- pass/fail evidence;
- inaccessible volumes and blind zones;
- response to a failure;
- retest after repair.
Do not select a sensitive method that production cannot control or interpret consistently.
Release a Seam Evidence Package
Retain joint sections, boundary drawing, process route, fixture assumptions, weld sequence, operator or automation controls, finish instructions, leak-test method, results, repairs, and final dimensional evidence.
Jewein describes engineering feasibility and production-risk review in its company overview. The final sealing category, safety requirement, and acceptance test remain the responsibility of qualified product and process engineers.
For a focused seam welding sheet metal review, contact Jewein with the enclosure model, boundary requirement, material, thickness, joint sections, finish route, service environment, and current leak-test data.
Frequently Asked Questions
Does a continuous weld guarantee a leak-tight enclosure?
No. Joint gaps, pinholes, starts and stops, intersections, porosity, grinding, distortion, and later operations can still create a leak path.
Should enclosure seams overlap or meet edge to edge?
The best joint depends on access, thickness, heat input, strength, appearance, sealing, inspection, corrosion, and finishing requirements.
Why do continuously welded panels warp?
Concentrated heat and shrinkage accumulate along the seam, especially when fit-up, restraint, sequence, and joint balance are not controlled.
Can sealant replace a continuous weld?
Sealant may be suitable for some environments, but compatibility, surface preparation, movement, aging, service, and verification must be defined.
How should an enclosure seam be leak tested?
Choose a qualified method and limit based on the actual medium, pressure, safety, environment, joint geometry, and product requirement.