


A pressed-in nut can look correctly seated and still rotate when the customer tightens the screw. A stud can remain attached during inspection yet pull out when a cable or bracket loads it in service. The hardware failure often starts with compatibility or installation, not the final bolt.
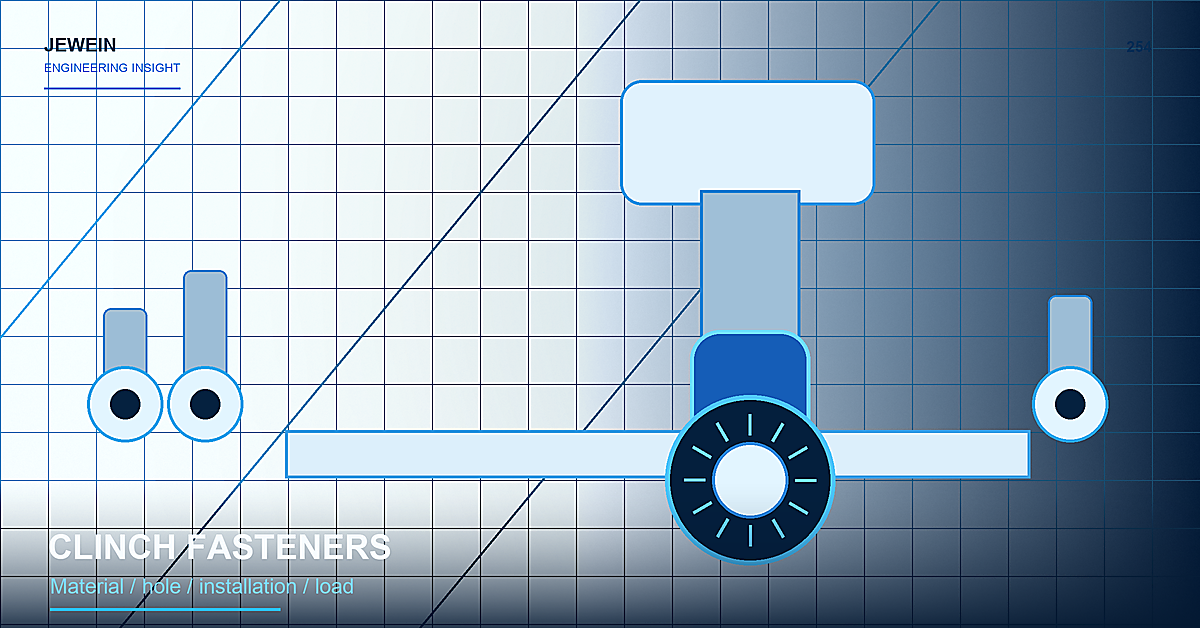
Sheet metal clinch fasteners must be selected as a joint system: fastener type, sheet material, thickness, hardness, hole preparation, edge distance, installation force, finish, mating torque, and service load.
Use a Fastener Scorecard Before Selecting a Part Number
Score the joint against the actual application rather than choosing from thread size alone.
| Decision | Questions to answer |
|---|---|
| Function | Nut, stud, standoff, spacer, grounding point, or location feature? |
| Sheet | Material, thickness, hardness, surface condition, and grain? |
| Access | Can the installation tool support both sides correctly? |
| Load | Tension, torque, shear, vibration, repeated service, or impact? |
| Finish | Installed before or after coating, with masking or exposed metal? |
| Repair | Can failed hardware be removed and replaced without scrapping the panel? |
The scorecard should point to a compatible fastener family and a controlled installation method.
Compatibility Starts With the Sheet
Clinch hardware works by displacing sheet material into fastener features. If the sheet is too hard, too thin, too soft, or outside the fastener's intended range, the joint may not develop the expected retention.
Confirm the manufacturer's compatibility information for the exact fastener and sheet. Do not assume that similar-looking hardware from another source has the same hole, installation, or performance requirement.
For a material change, treat the hardware joint as an affected feature. A substitution from mild steel to stainless steel or from one aluminum temper to another can change installation behavior.
Hole Preparation Is Part of the Joint
The hole influences seating and retention. Review:
- production hole size and tolerance;
- cutting or punching method;
- burr direction and edge rollover;
- flatness around the hole;
- distance from bends and edges;
- nearby holes or formed features;
- whether the panel is already coated;
- contamination or lubricant.
The sheet metal hole design guide explains why a correct nominal hole can still fail after forming, coating, or hardware installation.
Installation Force Must Be Controlled
Under-installation can leave the fastener high or incompletely locked. Excessive force can crush the sheet, distort a thin panel, damage threads, or mark the opposite face.
Use a press and tooling that support the panel and load the fastener squarely. Record the setup or acceptance condition instead of relying on operator feel. For cosmetic panels, inspect the visible side for dimpling or witness marks.
Installation evidence may include:
- seating height or flushness;
- visual sheet flow around the fastener;
- press setting or monitored force where appropriate;
- thread gauge result;
- panel flatness;
- representative push-out, torque-out, or proof test;
- mating-part assembly.
Diagnose the Failure Mode
Spin-out during tightening
Check compatibility, hole size, installation completeness, coating under the fastener, applied torque, and whether the mating screw bottomed before the joint clamped.
Pull-out under service load
Review sheet thickness, edge distance, load direction, fastener type, panel stiffness, and whether the joint is being pried rather than loaded as intended.
Loose or tilted hardware
Inspect support tooling, panel flatness, installation angle, local distortion, and mixed fastener identity.
Thread damage
Check handling, coating contamination, incorrect screw, cross-threading, excessive proof load, and whether threads were protected during finishing.
Each symptom needs a cause record before the team increases installation force or changes the hole.
Decide When to Install Relative to Finish
Installing before coating can provide efficient production and coat the surrounding panel, but threads, grounding faces, and hardware interfaces may need masking. The fastener material and finish must also tolerate pretreatment and curing.
Installing after coating can protect threads and preserve hardware finish, but the pressing operation may crack or mark the coating. The panel may also need exposed material for the clinch action.
Review the powder coating masking guide when hardware, electrical contact, close fits, or exposed edges interact with finish.
Control Torque at the Product Level
Fastener retention and screw tightening are related but different. A high torque requirement may exceed what the sheet joint can resist even when the threads themselves are strong.
Define the mating screw, lubrication or locking feature, assembly torque, tool control, and service cycles. If the screw bottoms, binds, or misaligns, the operator may transfer unexpected torque into the clinched joint.
Use a functional assembly test when that represents the real risk better than an isolated laboratory value.
Plan a Repair Before Production
A spinning nut discovered in final assembly can stop the entire product. Decide whether the approved response is replacement, controlled oversize repair, welded hardware, a backing nut, a bracket change, or scrap.
The repair must protect hole position, panel flatness, coating, corrosion resistance, access, and future service. Uncontrolled removal can enlarge the hole or damage the visible face.
Build a Hardware Control Packet
For critical sheet metal clinch fasteners, retain:
- approved manufacturer and part number;
- sheet material and thickness range;
- controlled hole requirement;
- installation equipment and tooling;
- seating and thread checks;
- finish and masking sequence;
- torque or retention evidence;
- repair instruction;
- lot or revision traceability where needed.
Jewein states that its engineering-led support reviews drawings, applications, manufacturability, production risk, and scale-up requirements. See the Jewein company overview for that business description. Joint strength, electrical grounding, vibration resistance, and safety compliance require application-specific engineering and validation.
Buyers can contact Jewein with the sheet specification, fastener part, hole detail, finish, mating screw, torque, service load, and failure photographs for a targeted sheet metal clinch fasteners review.
Frequently Asked Questions
What are sheet metal clinch fasteners?
They are nuts, studs, standoffs, and related hardware installed by pressing material features into a prepared sheet-metal hole.
Why does a clinch nut spin in the sheet?
Possible causes include the wrong fastener, unsuitable sheet hardness or thickness, incorrect hole size, poor installation force, coating interference, or excessive torque.
Should clinch fasteners be installed before coating?
Often they are, but the decision depends on coating coverage, grounding, threads, masking, appearance, corrosion, and whether the fastener material is compatible.
Can a clinch fastener be replaced after failure?
Sometimes, but removal may enlarge or distort the hole, so an approved repair method and acceptance check are needed.
How should clinch hardware be inspected?
Verify identity, orientation, seating, sheet condition, location, thread quality, push-out or torque evidence where required, and mating-part fit.